THE POSY POST
A JOURNAL OF THE BACKYARD POSY CO.
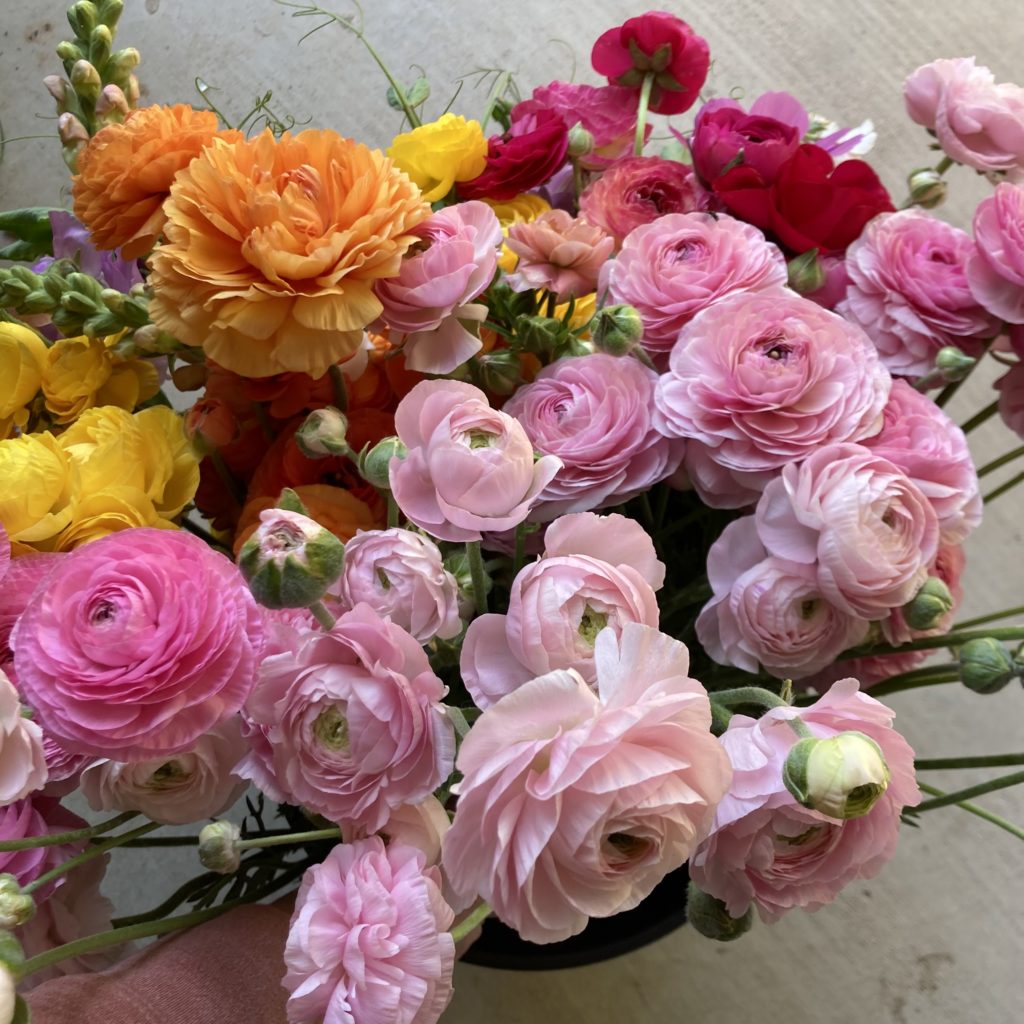
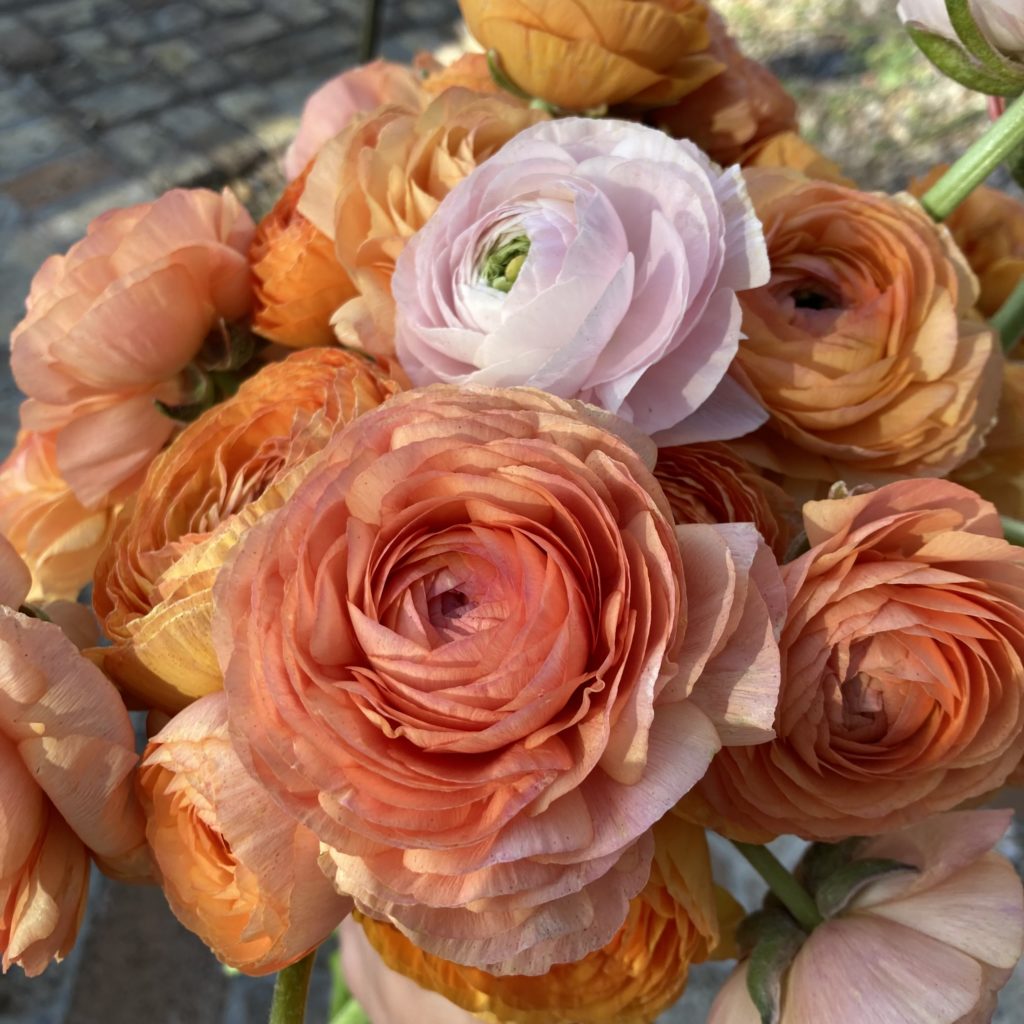
Ranunculus are some of my favorite spring flowers! – and they have an incredible vase life, often lasting over 10 days!
In this guide I will go through everything you need to know to grow your own amazing ranunculus!
Step #1
Prepare the Soil
You can find The Backyard Posy Co. Fall Gardening Guide with all the details here!
Step #2
Prepare the Corms
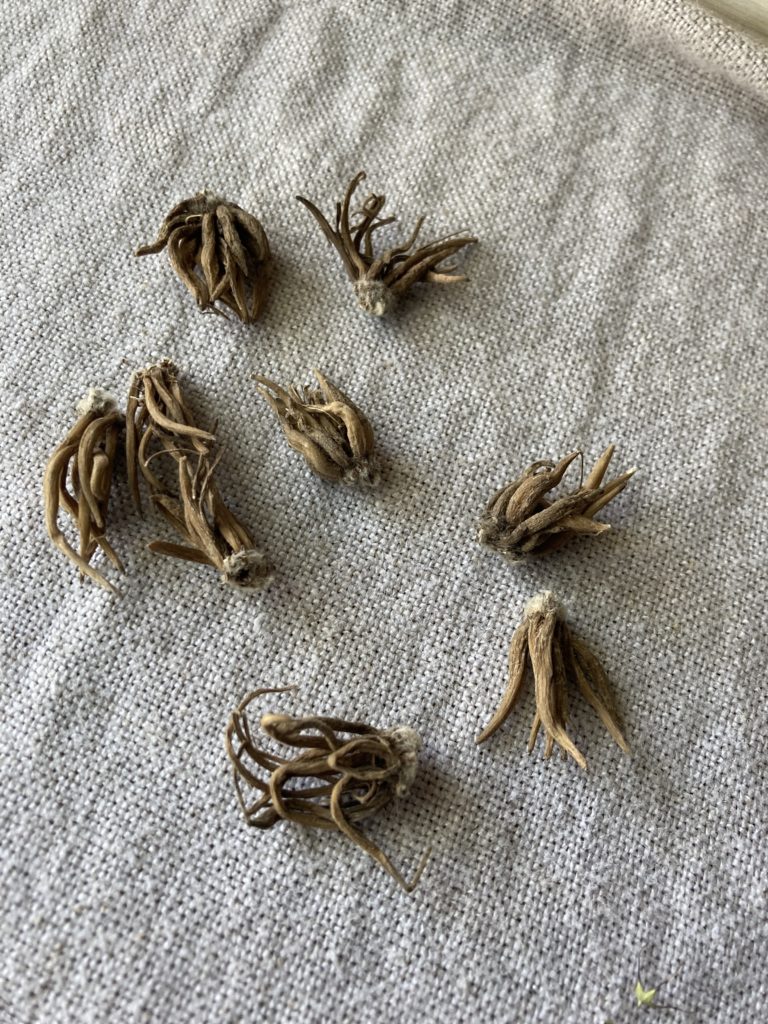
- When you purchase your corms, you will notice they look like a little shriveled piece of root.
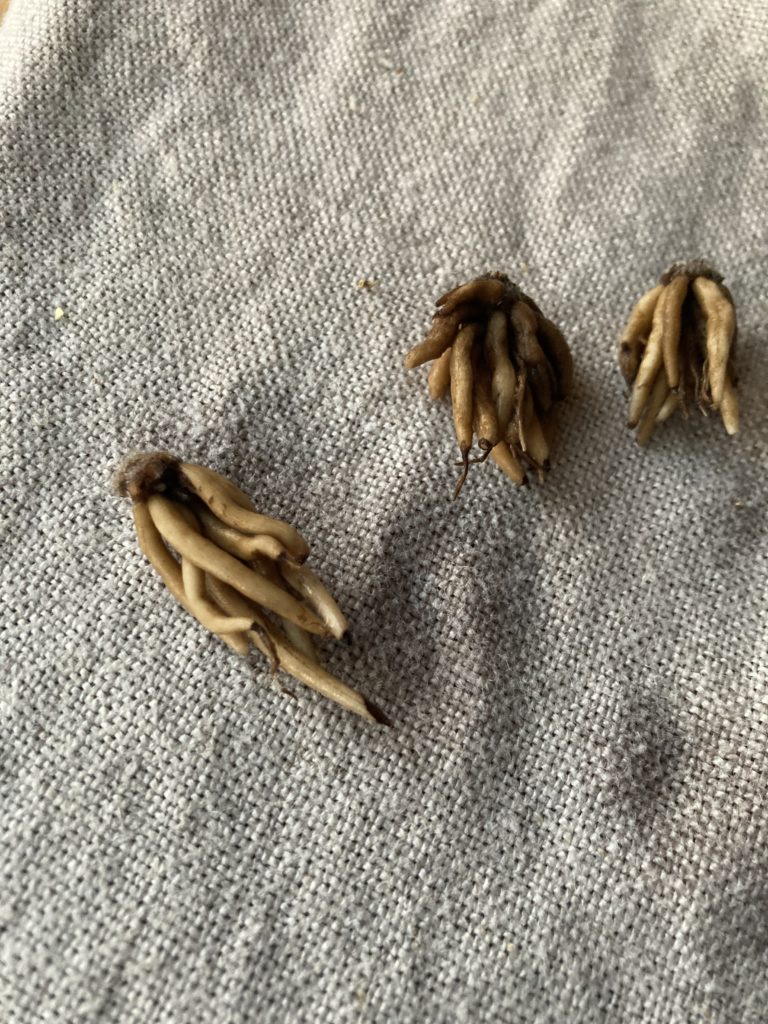
- The first step is to wake them up! This is done by soaking them in room temperature water for about 3-4 hours. DO NOT OVER SOAK THEM!
- More is not better in this case – ranunculus corms are prone to rot if they are soaked too long.
- The corms are properly hydrated whey they are nice and plump, sometimes they even double in size!
- Once the corms are soaked they cannot be stored. You will want to pick a day when you can get them in the ground pretty quickly after they have been hydrated.
Step #3
Plant!
Now that you have your soil prepared, and they corms hydrated, it is time to get planting!
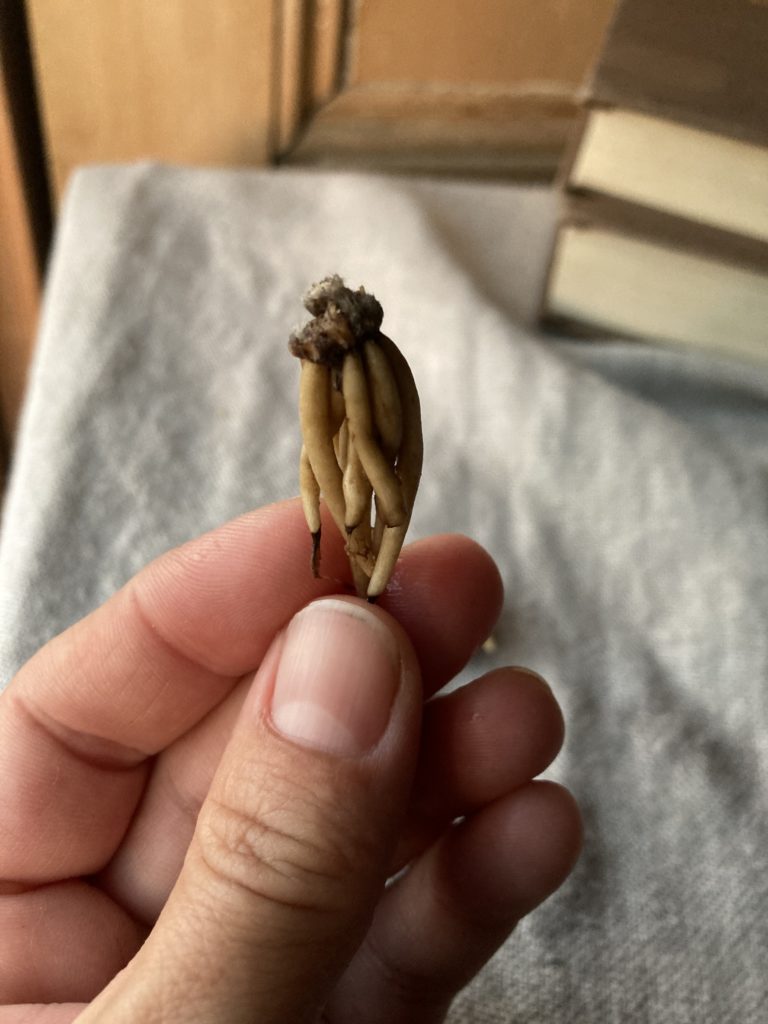
- Plant ranunculus corms about 9″ apart and 2-3 inches deep.
- The spider legs of the corm point DOWN!
- They can handle light frosts, but if you expect a freeze for an extended period of time – cover with a frost cloth.
- In a mild/warm climate you can begin planting ranunculus in October and continue through December.
- You will get dozens of beautiful blooms through Spring!
- Ranunculus do not like the heat, so once the temp starts to climb the leaves will brown and the corm will go dormant again – don’t worry it’s not dead!
- The corms can be lifted and stored over the summer to be planted again in the Fall. And more than likely your corm will have multiplied, giving you 2 or 3 corms for the 1 you planted!
- You can also leave them in the ground, but they do not bloom so reliably when left in the ground over summer.
Step #4
Harvest and Enjoy
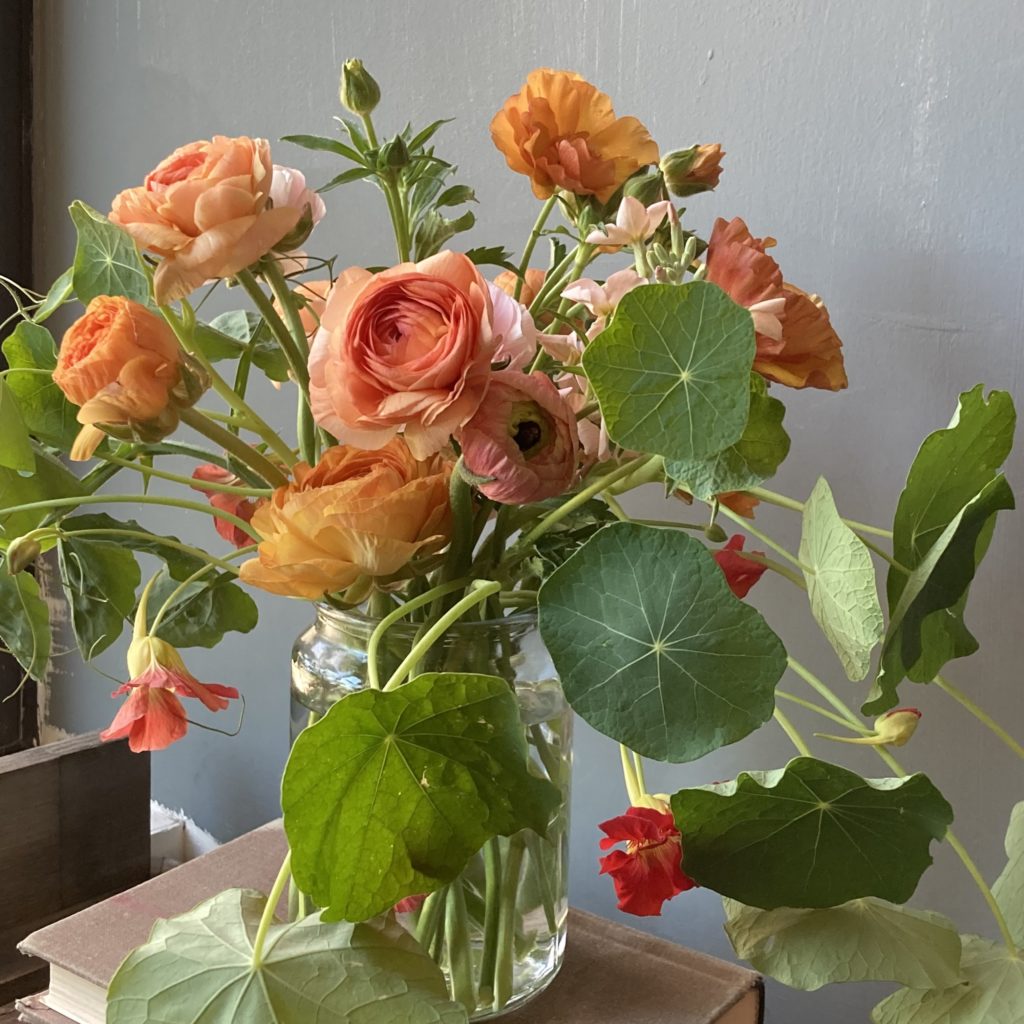
- Flowers are ready to be cut when the bud is full and squishy like a marshmallow.
- They can also be cut when they are fully open, they are just a little more delicate at that stage.
- When cutting, cut all the way to the base to get the longest stem, and to promote more blooms!
- If you are leaving the flowers on the plant, cut after the flower is spent (deadhead) – still going all the way to the base of the stem.
I would love to see how your garden grows!
Send me an email or tag me on instagram @backyardposy
–Amy
Make sure you are subscribed to my weekly newsletter The Posy Post, never miss a post and receive printable versions of the guides when I publish!
How to Grow Ranunculus in a Warm Climate
Tutorials
Garden
Floral Arrangements
I find so much joy in tending the garden and designing with the blooms I grow - and I love to share them!
This journal is dedicated to sharing all things flower and garden.
I hope you will be inspired to enjoy the beauty all around you every day!
WELCOME TO The posy post!

-Amy

LET'S CONNECT


