THE POSY POST
A JOURNAL OF THE BACKYARD POSY CO.
As the night-time temps start to cool down, it can only mean one thing-
it’s time to prepare for an abundant spring garden!
STEP #1
Clear the Summer Garden Beds and Containers
If you have extra garden space that is not being used – its a bonus and you can continue to Step #2!
If you are not so lucky to have extra space, then you will need to remove summer flowers from most of your space, but leave a few to enjoy if they are still going strong.
If you are container gardening, now is a good time to empty your containers and see Step #2 for amending the soil!
STEP #2
DIG IN!

Healthy plants begin with healthy soil!
A lot of compaction can happen over a season, so now is a good time to reintroduce some oxygen and loosen the soil.
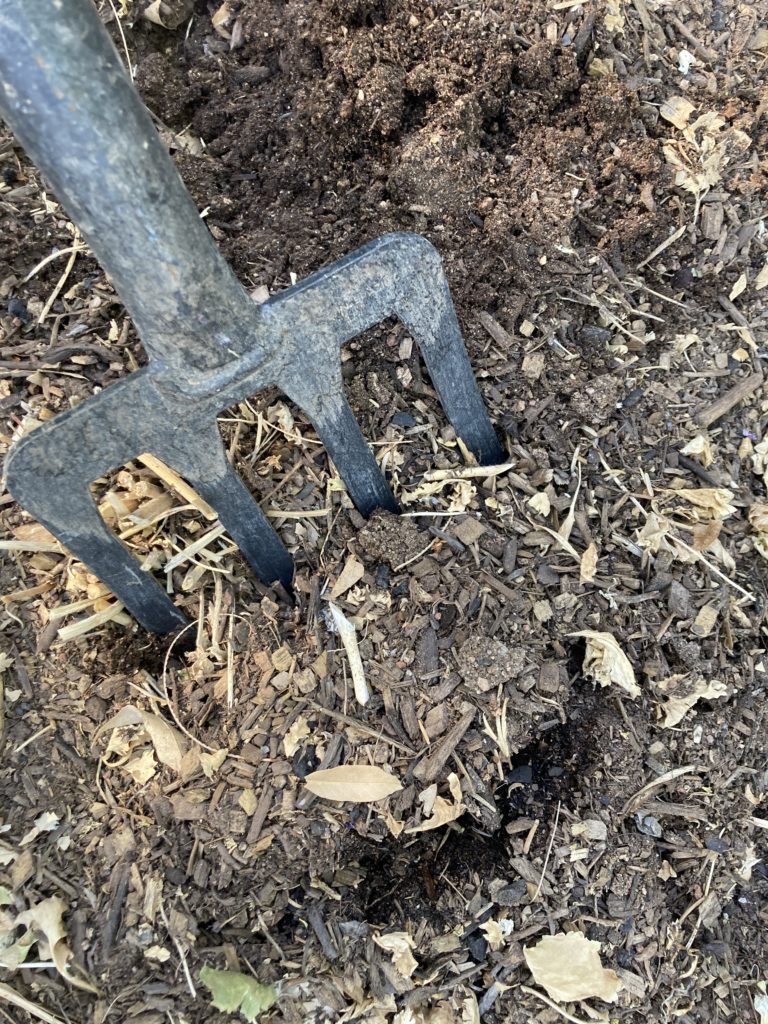
Using a broad-fork or shovel, gently aerate the soil by sinking your tool about 9- 12″ deep, gently lift to loosen the soil and remove your tool.
Do not turn over the soil or remove roots from the soil. This will unnecessarily disrupt the soil AND bring weed seeds to the surface for easy germination – both things you want to avoid!
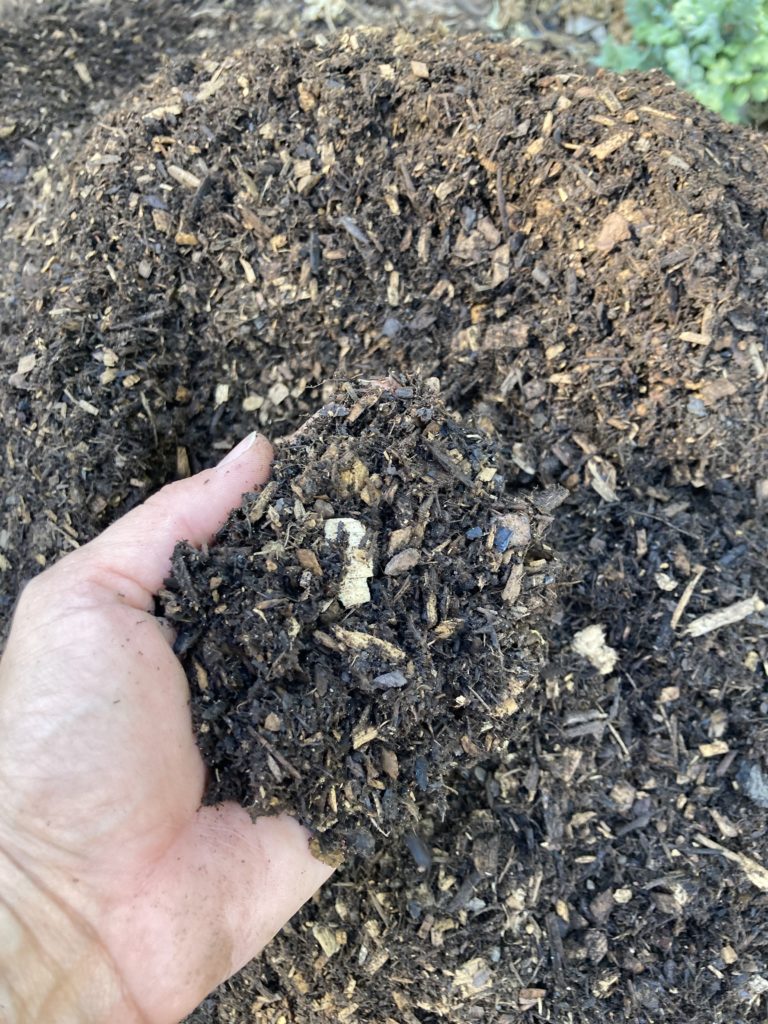
Add 1-3″ of good quality composted mulch. This will add nutrients to the soil and minimize weed pressure. (If you are using raised beds, refill the beds to the top with a raised bed soil mix.)
You can add a balanced fertilizer at this time, I like to use an organic all-purpose fertilizer mixed into the top few inches of the soil. (The numbers on the front of the bag should be close to the same: 4-6-3 for example)
For Containers: add a balanced fertilizer along with new soil to the soil you emptied out of the pot before refilling the container.
STEP #3
WATER
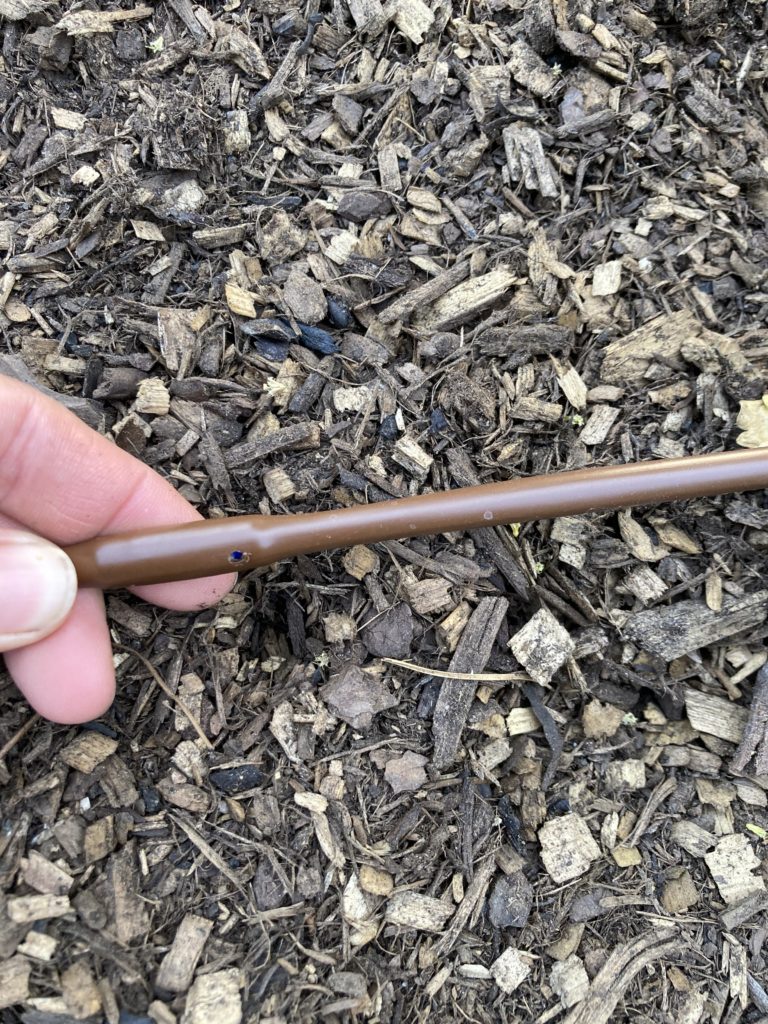
While your beds are cleaned out, it’s a great time to check for any leaks and determine how often you will need to water.
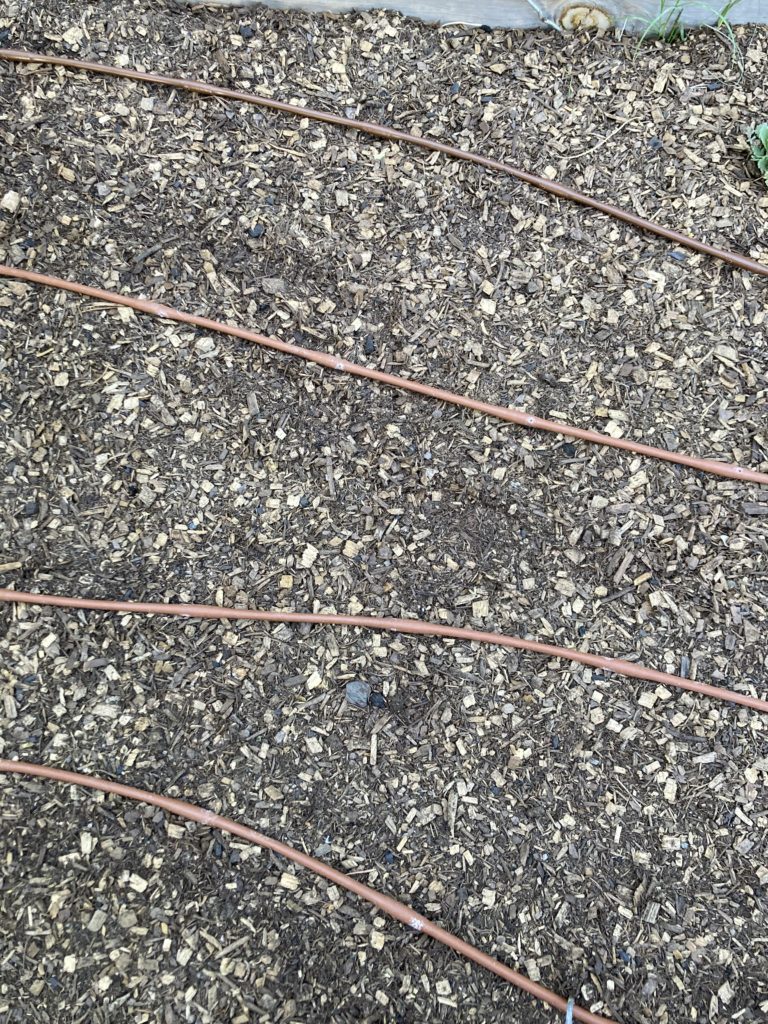
While seeds are germinating and the plants are young, the soil will need to be moist constantly.
Once established, the top 1″ of the soil should be allowed to dry before the next watering. As a general rule you want to water annuals about 12″ deep, shrubs – 24″ deep and trees about 36″ deep at the drip line of the tree.
(A moisture meter comes in handy for this – they are inexpensive and available at most home improvement and garden stores.)
Keep in mind you will want to check for necessary adjustments once your baby plants are going strong!
STEP #4
PLANT!
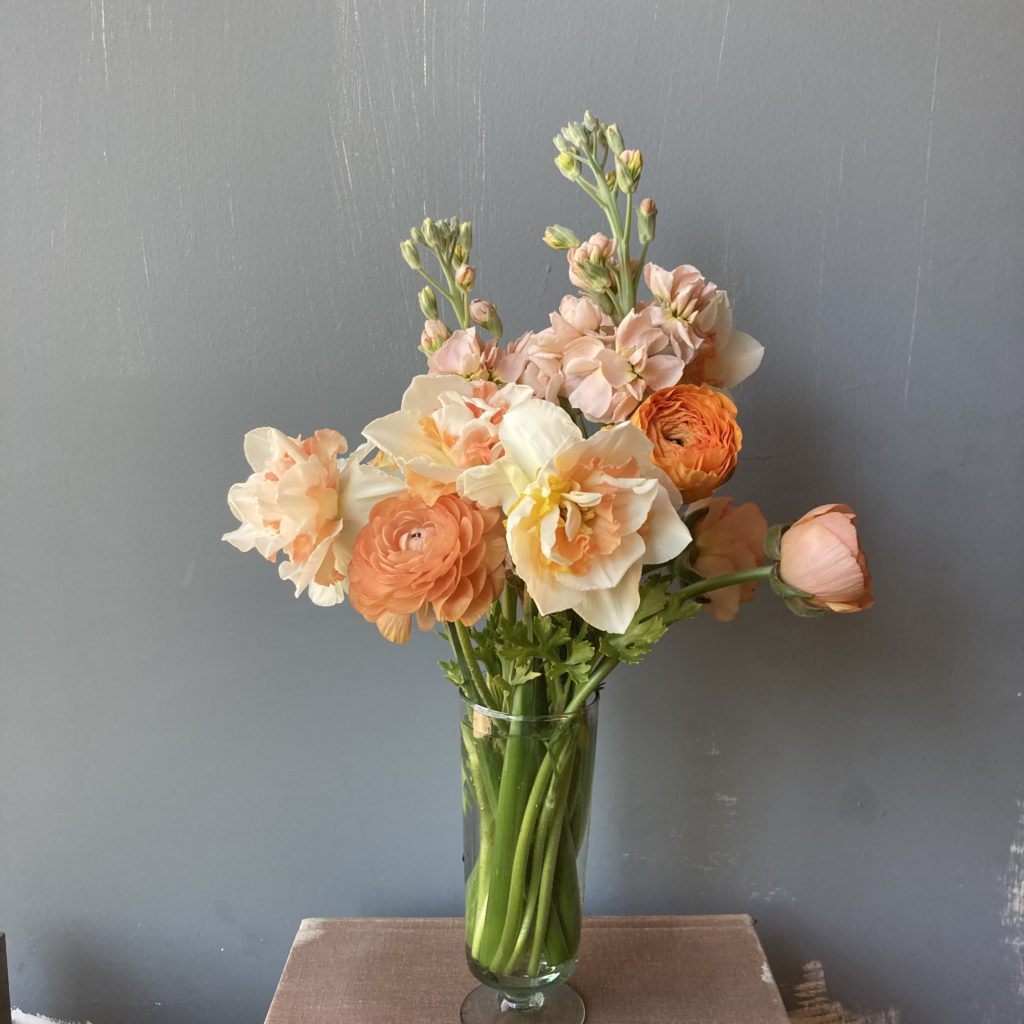
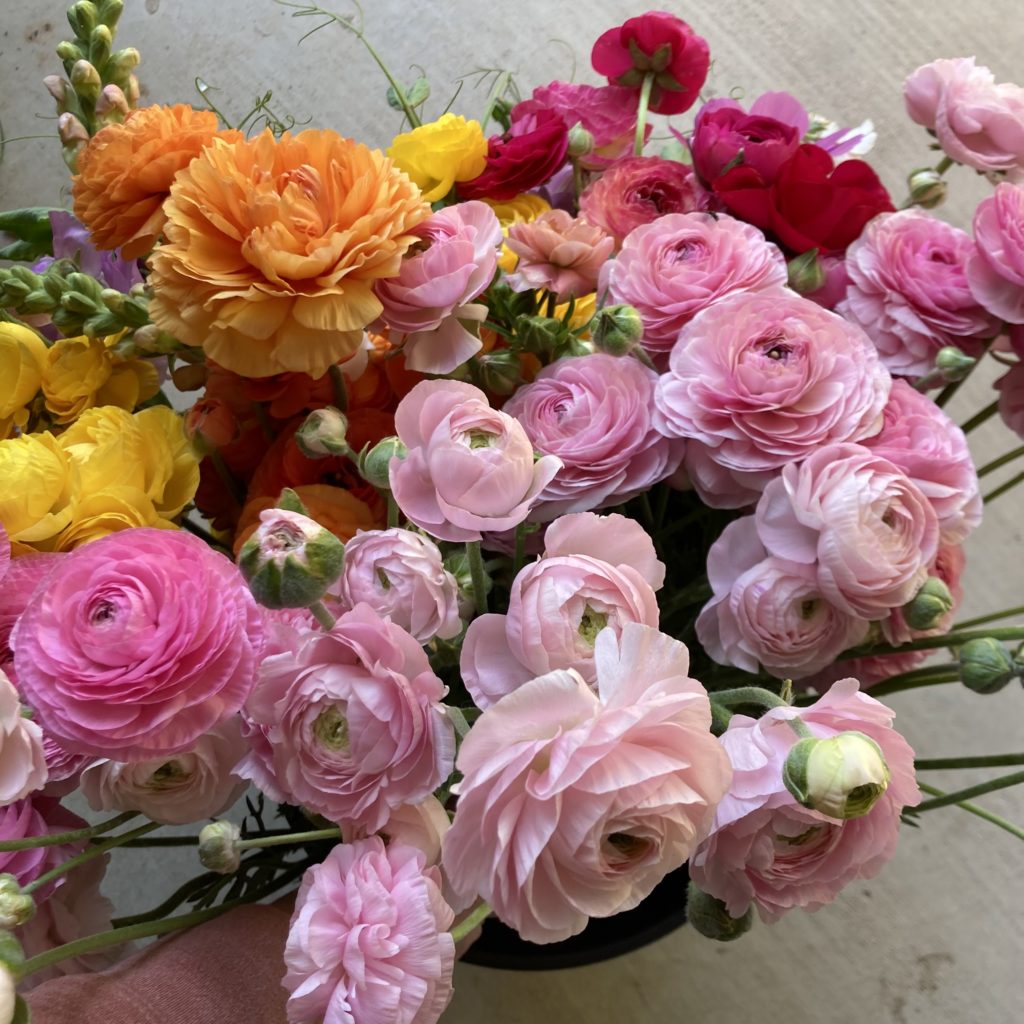
My favorite fall-planted spring flowers are Ranunculus, Daffodils and Sweet Peas!
Other favorites to plant seed directly: Larkspur, nasturtiums, phlox
Best to plant seedlings from nursery: snapdragon, poppy, stock
These are “cool season” flowers and they are best planted in early – mid October. You can continue to plant successions through December for later spring blooms.
Ideally, daytime temps will be below 100 degrees before planting out fall planted spring crops, but once the night-time temps are consistently in the 70’s, you’re good to go.
If you are planting plants from the nursery, simply remove them from the pot and plant at the same depth.
If planting seeds, follow the instructions on the packet. Plant about 50% more than you need to allow for seeds that don’t germinate. Seeds need consistent moisture until they germinate, so you may want to add a little overhead spray with the hose until you see the green leaves pop up!
Ranunculus and Sweet Peas require a few more steps than this – a special guide for those will be coming soon!
Pro Tip: reserve one area or bed to be planted with warm season flowers in February. Your cool season flowers will still be going strong at that time and it is painful to remove them to make room!
STEP #5
Roses
Last, but certainly not least – it’s time to give your roses a little TLC!
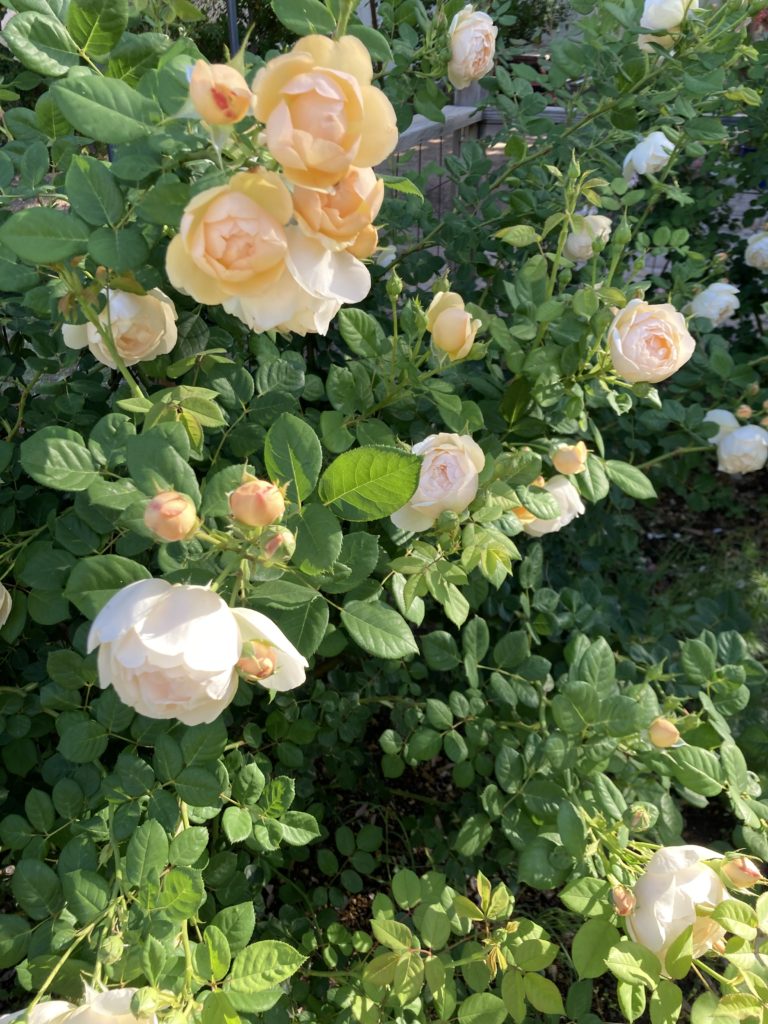
Summer in a hot-dry climate can be rough on roses, but with a little care in late-summer, they will reward you with a beautiful fall flush of blooms!
The key is to be gentle: remove damaged and dead canes, and dead-head any flowers. You can cut back a healthy, established rose by 1/3 at the most, but if a rose is in distress don’t take off more than you need to.
Once your roses are lightly pruned, add a balanced fertilizer or Alfalfa and add a new layer of mulch.
Get ready to enjoy those blooms in about a month!
Phew! Now sit back and relax – your patience will be rewarded with incredible spring blooms!
I would love to see how your garden grows!
Send me an email anytime!
-Amy
5 Fall Gardening Steps for a Beautiful Spring Garden
Tutorials
Garden
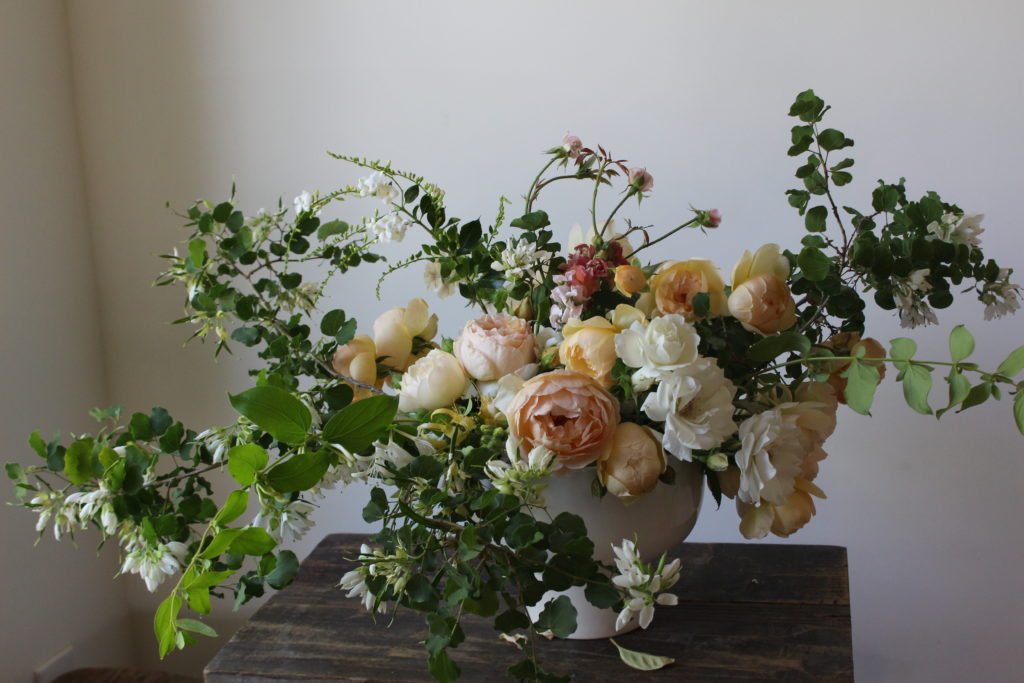
Floral Arrangements
I find so much joy in tending the garden and designing with the blooms I grow - and I love to share them!
This journal is dedicated to sharing all things flower and garden.
I hope you will be inspired to enjoy the beauty all around you every day!
WELCOME TO The posy post!

-Amy

LET'S CONNECT


